Peace Dove
Well-Known Member
سلام
داشتم تو یک سایت آموزشی میگشتم یک آمورش دیدم به زبان انگلیسی حوصله ترجمه نداشتم ولی دیدم حیفه شما اینو نبینید. خوب امیدوارم لذت ببرید.فقط چون زیاده تو 3 تا پست میذارم.
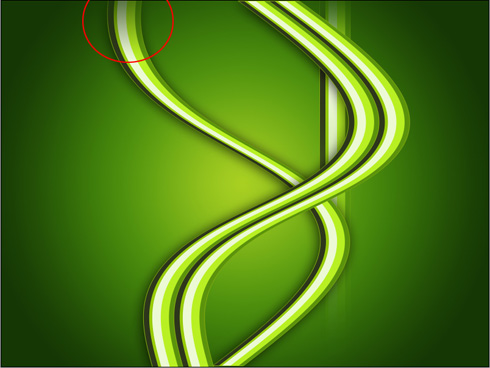
really in-depth tutorial on how to create a nice abstract art style wallpaper.
Begin by representing the file that would have 1600x1200 px and 72 dpi.
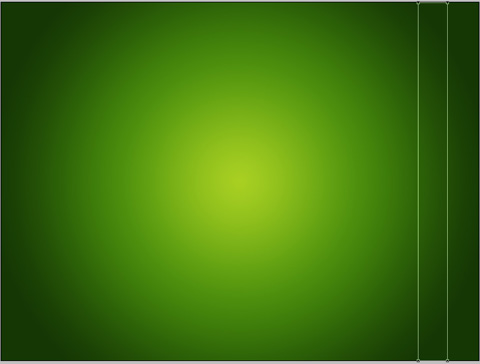
Choose after that the Rectangle Tool (U) to draw the background of the picture to be.

Select next parameters for the made layer by making a mouse click on this layer on the layers’ palette.
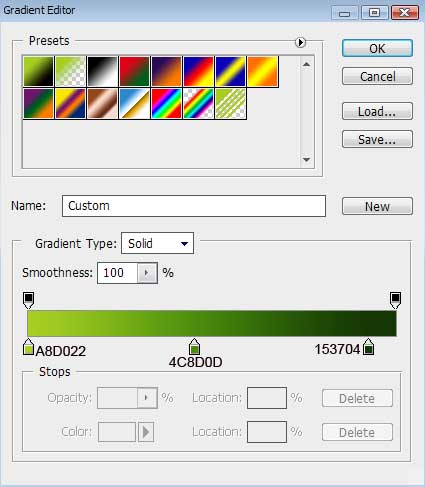
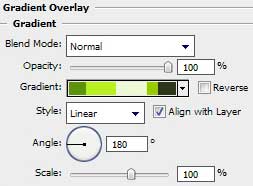
Blending Options>Gradient Overlay
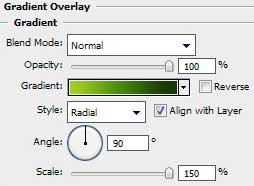
Gradient’s parameters:

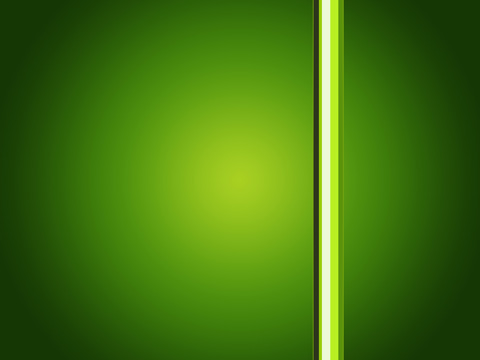
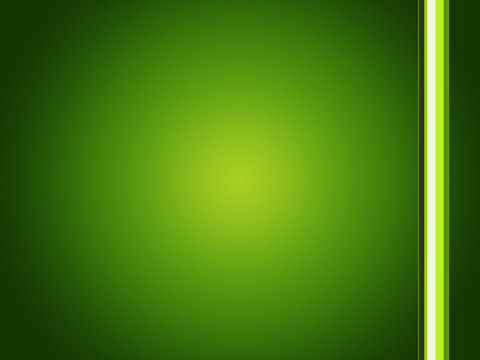
Use the last applied tool to draw this time a vertical stripe.
The layer’s parameters: Fill 0%
Blending Options>Gradient Overlay
Gradient’s parameters:

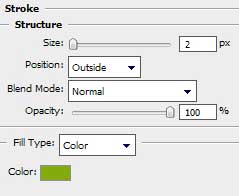
Blending Options>Stroke
داشتم تو یک سایت آموزشی میگشتم یک آمورش دیدم به زبان انگلیسی حوصله ترجمه نداشتم ولی دیدم حیفه شما اینو نبینید. خوب امیدوارم لذت ببرید.فقط چون زیاده تو 3 تا پست میذارم.
really in-depth tutorial on how to create a nice abstract art style wallpaper.
Begin by representing the file that would have 1600x1200 px and 72 dpi.
Choose after that the Rectangle Tool (U) to draw the background of the picture to be.
Select next parameters for the made layer by making a mouse click on this layer on the layers’ palette.
Blending Options>Gradient Overlay
Gradient’s parameters:
Use the last applied tool to draw this time a vertical stripe.
The layer’s parameters: Fill 0%
Blending Options>Gradient Overlay
Gradient’s parameters:
Blending Options>Stroke